Learn How to Install Outdoor Lights With Safety and Efficiency in Mind
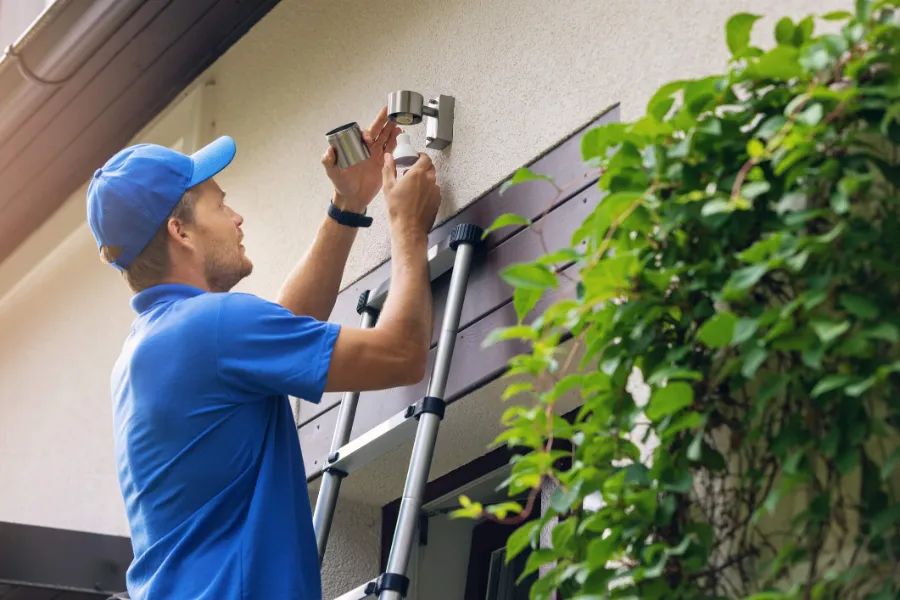
Installing outdoor light fixtures can enhance your home’s curb appeal, increase security, and improve functionality. However, without proper planning and execution, the task can be daunting. This guide will walk you through expert tips to ensure your outdoor lights are installed safely and effectively. From choosing the right equipment to following necessary precautions, we’ll cover everything you need to know for a successful installation process.

Selecting the Right Equipment
The first step to any successful outdoor project is selecting the right tools and materials. You’ll need durable fixtures that can withstand weather elements and efficient bulbs like LEDs for energy saving. Make sure you have a drill, screws, wire connectors, and a voltage tester on hand. The quality of your equipment can significantly impact the longevity and performance of your light fixture installation.
Understanding Electrical Safety
Before diving into the installation, it’s crucial to understand basic electrical safety measures. Ensure the power is completely turned off at the circuit breaker before starting any work. Use a voltage tester to confirm there’s no live electricity in the wires you’ll handle. It’s better to over-prepare than to risk injury or damage during your light fixture installation.

Planning Your Installation Location
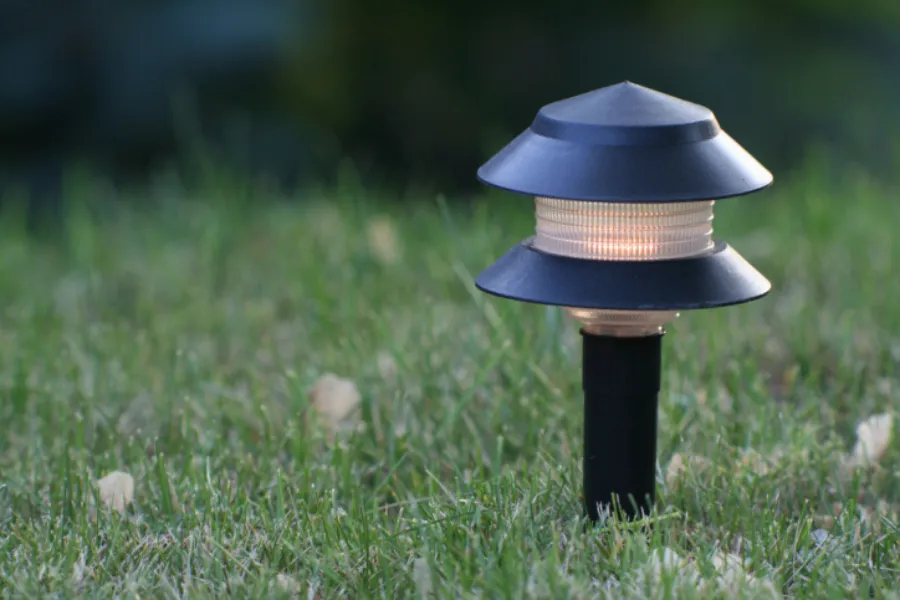
Choosing the right location for your outdoor lights is essential for both aesthetics and functionality. Consider areas where lighting is most needed, such as pathways, garage fronts, or garden areas. Positioning your fixtures correctly will maximize their effectiveness and highlight key features of your home while ensuring safe navigation during nighttime.
Step-by-Step Installation Process
- Turn off the power from the main electrical panel.
- Mount the fixture bracket securely on the wall.
- Connect the fixture wires to the house wires using wire nuts.
- Screw the fixture onto the bracket, ensuring it’s tight and secure.
- Install the bulb and attach any glass covers if applicable.
- Switch the power back on to test your new lighting.
Common Installation Mistakes to Avoid
Avoid these common pitfalls for a smooth installation experience. First, don’t skip testing your connections with a voltage tester for safety assurance. Secondly, avoid overtightening screws which could crack fixtures or strip threads. Finally, make sure all seals are watertight to prevent moisture issues that could lead to electrical hazards or fixture damage over time.
Maintenance Tips for Longevity
Proper maintenance extends the life of your outdoor lights. Regularly check for loose connections and tighten them as needed. Clean lenses and light surfaces to keep them bright and clear. Replace bulbs promptly when they burn out to avoid uneven lighting around your property. By following these upkeep steps, you ensure that your investment remains effective year-round.
Cost Considerations and Value
Investing in good quality light fixtures may cost more upfront but saves money in the long run by reducing replacement needs and lowering energy bills. Factor in potential savings from LED bulbs and increased property value due to enhanced aesthetics and security. Weigh these benefits against initial costs for a comprehensive understanding of your investment’s worth.
Your Go-To Source for Expert Help
If you’re considering enhancing your home’s exterior with new lighting, contact Sanmore Electric LLC today at (832) 480-8258. Our experts based in Porter, TX are ready to assist with tailored solutions that meet your needs. Trust us for professional guidance and high-quality service that illuminates your space beautifully and efficiently.
